
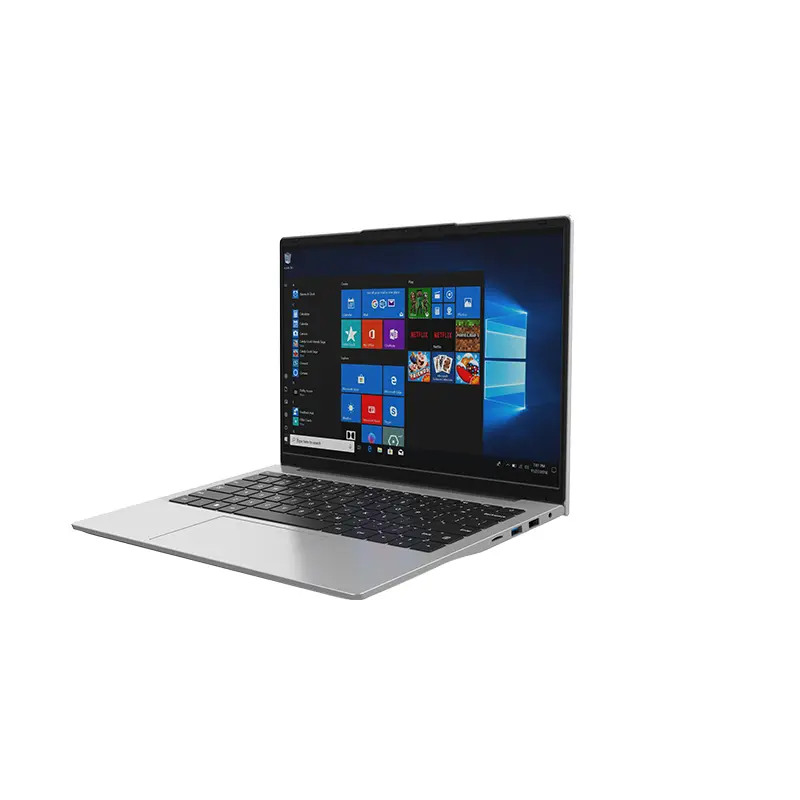
 14 Inch Office Notebook
 Dual Screen Laptop
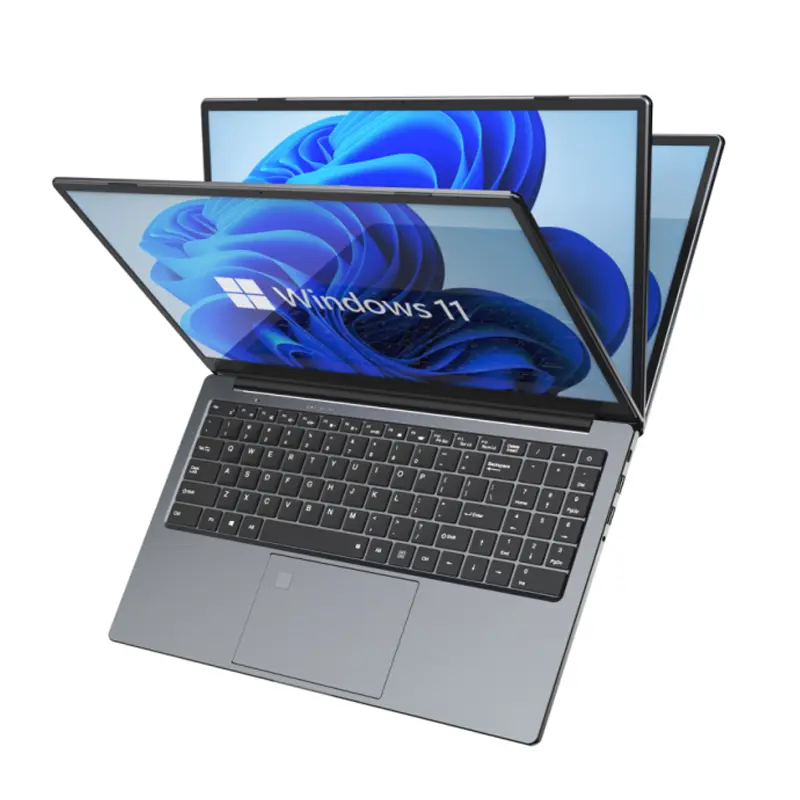 Fingerprint Business Notebook
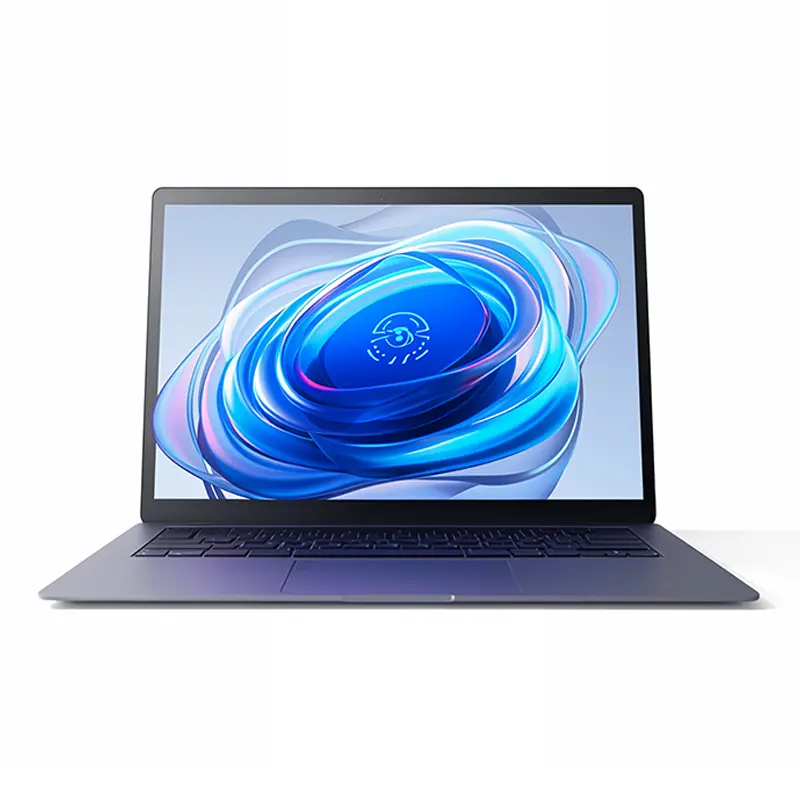 Big Screen Laptop
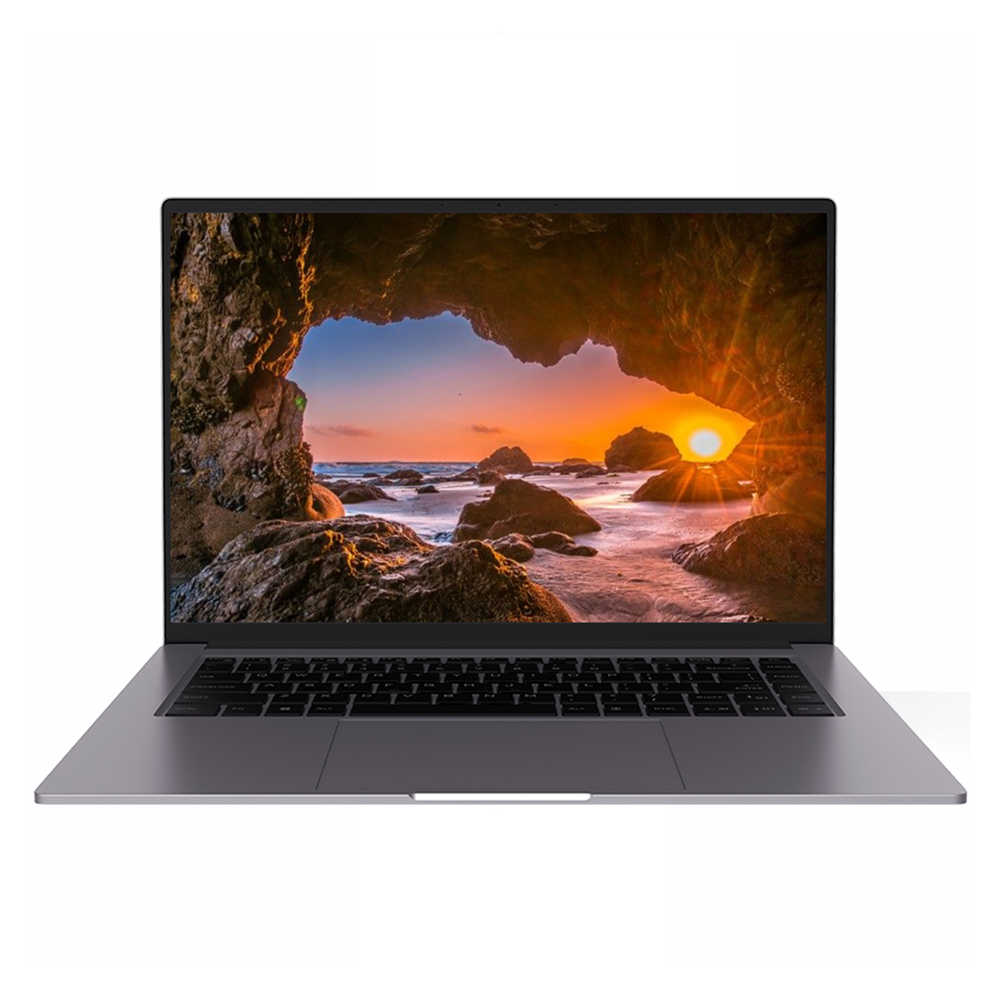 HD Gaming Laptop
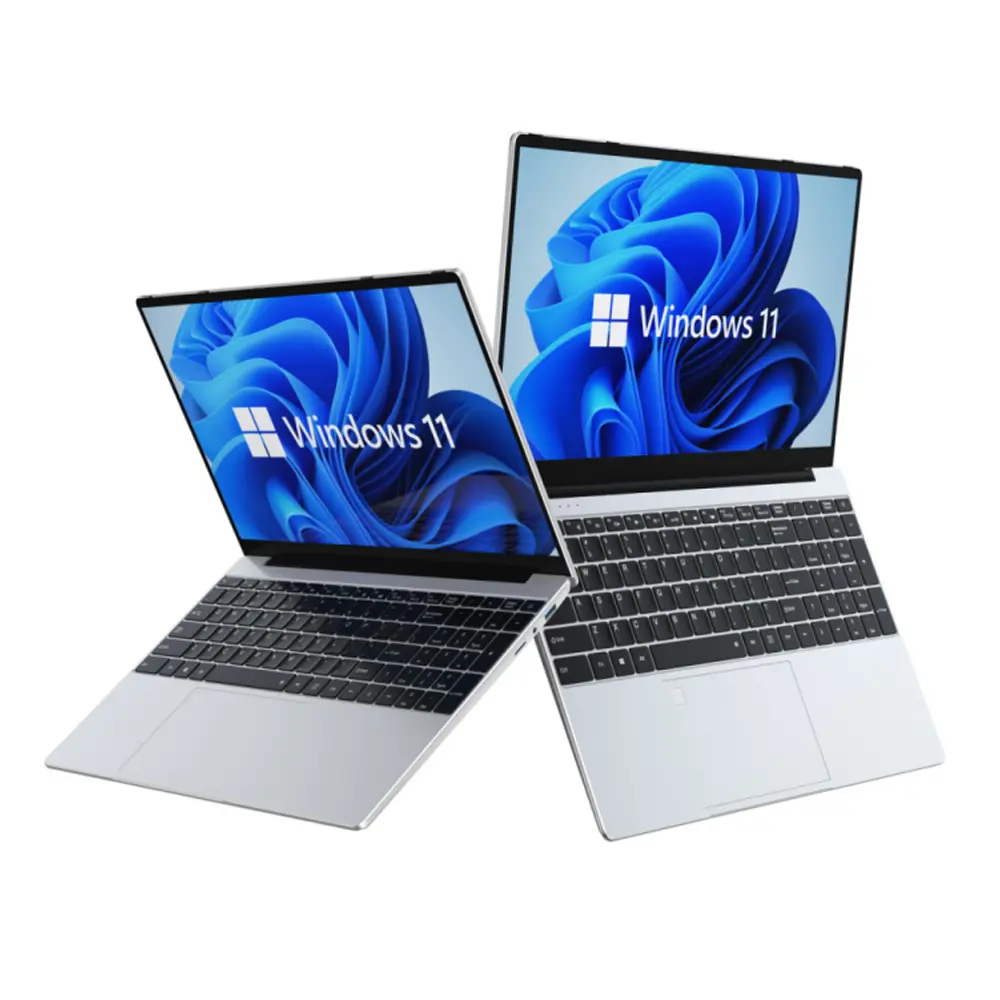
 14.1 Inch Student laptops
 16.1 Inch Office Laptops
 Home Mini Host
 Industrial Micro PC
 Fanless Industrial Mini PC
 Commercial Mini PC
 RTX3050TI Game Mini PC
 Micro Mini PC
 Fanless Mini PC
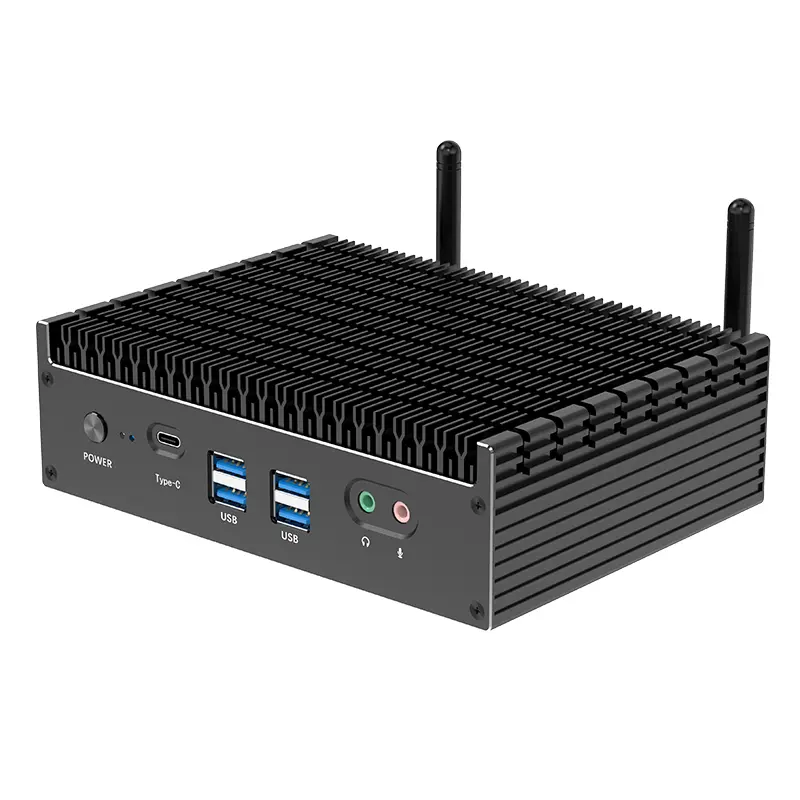 High-end Mini PC
 More
More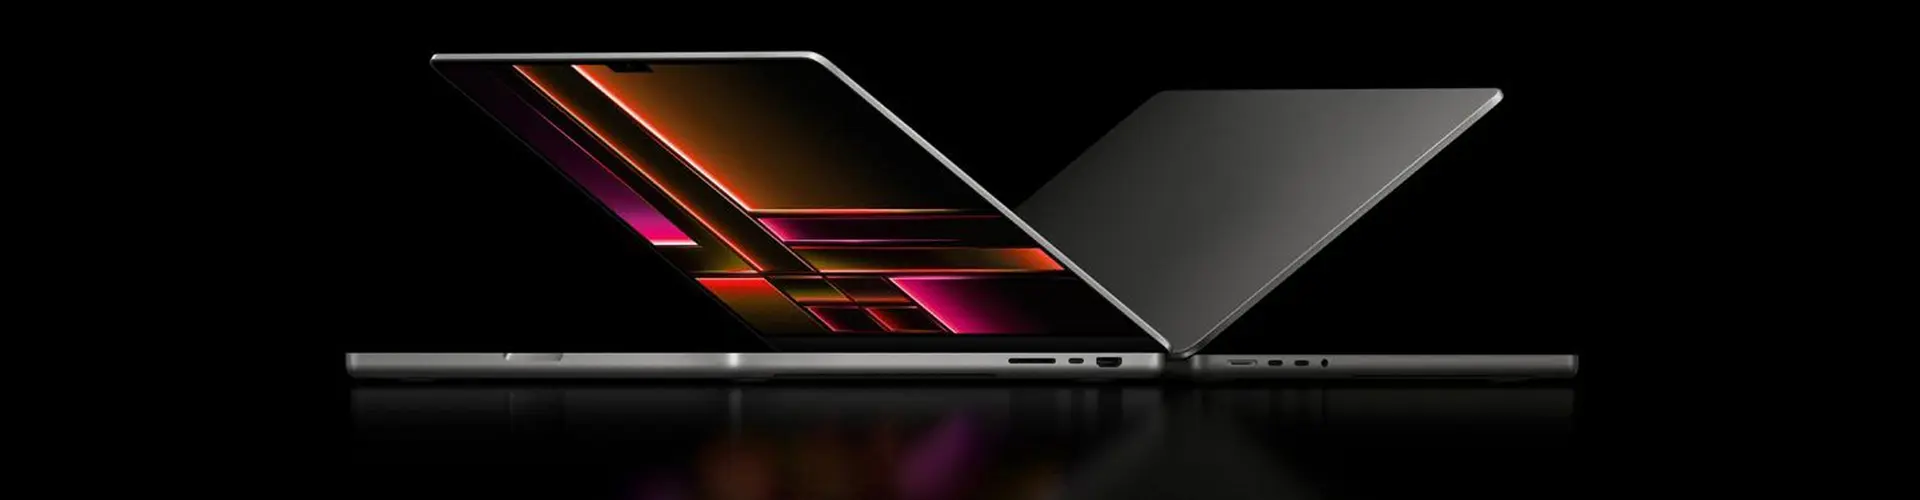
Computer Motherboard
01


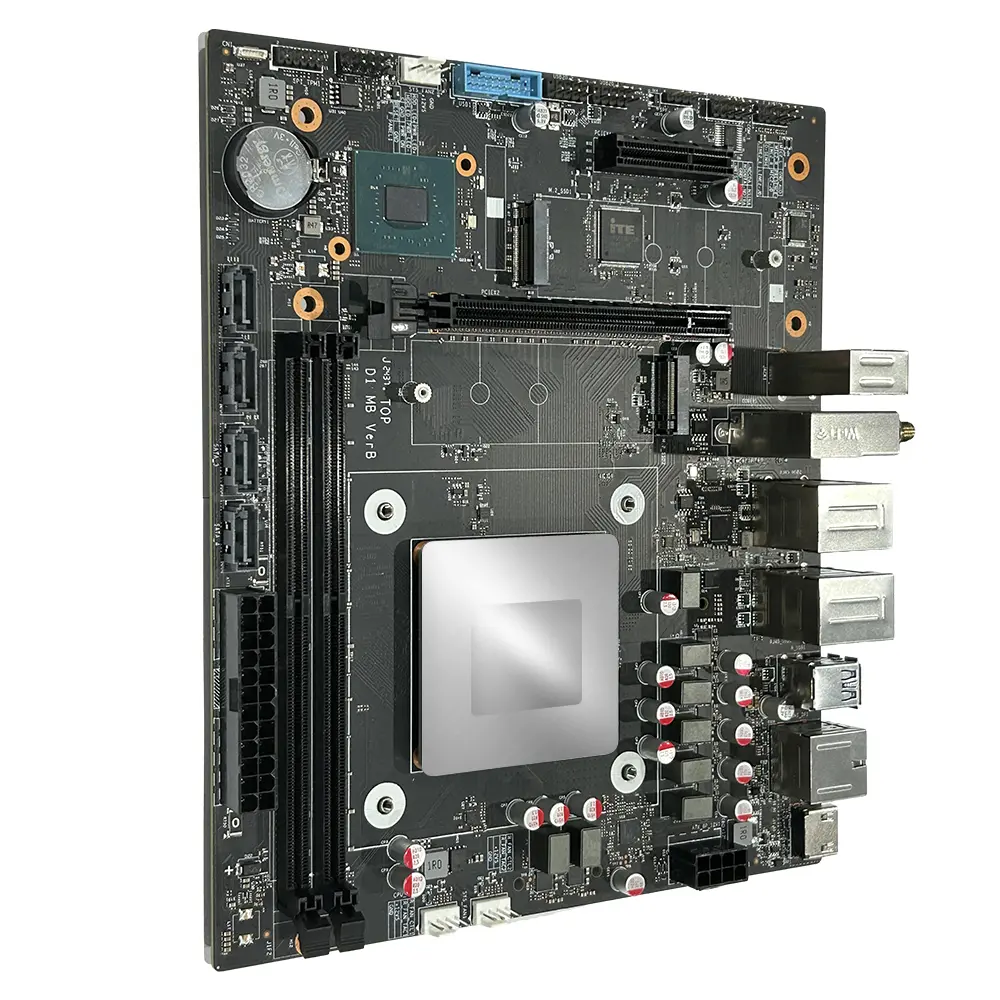
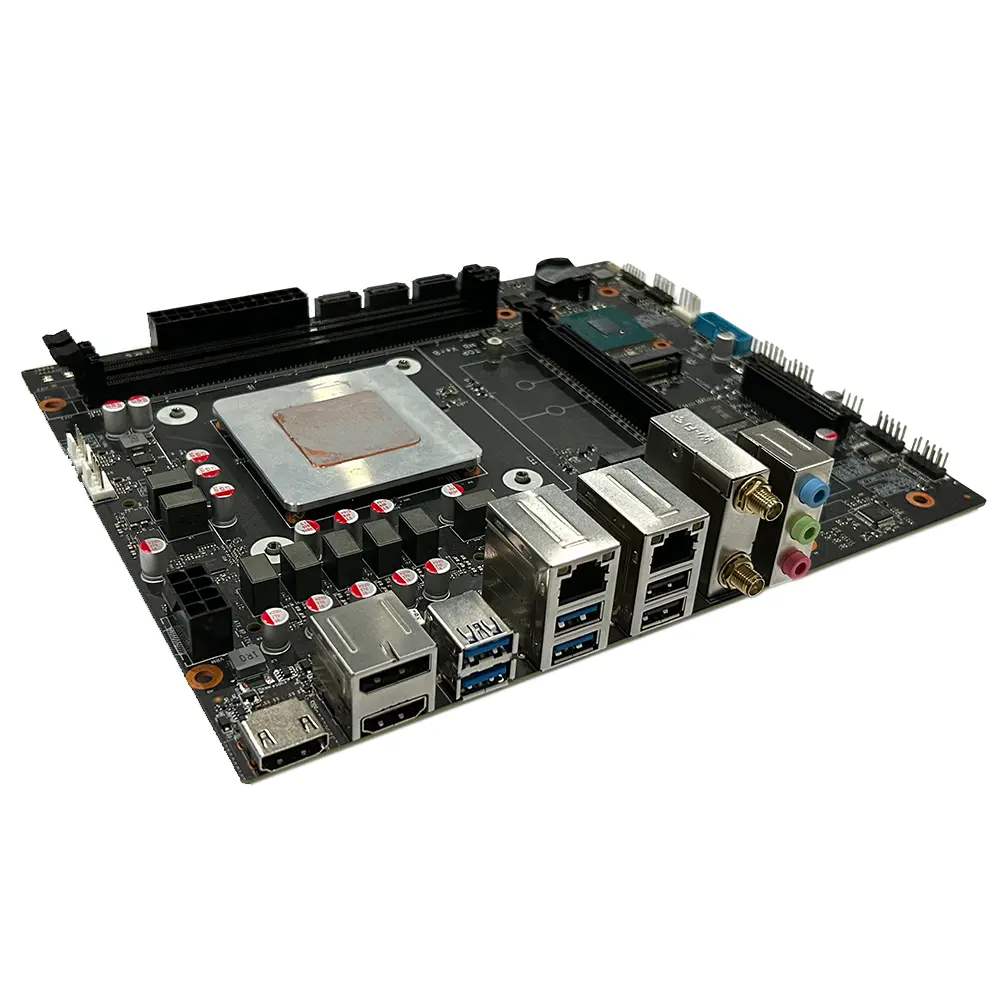
Independently Research And Develop Mid-to-high-end Computer Motherboards
Product Detailed Specification
| Mainboard chip | |
| Main chipset | Intel® HM670/HM770 and other PCH |
| Audio chip | Built-in HD sound chip |
| Network card chip | Board network card chip |
| Processor specifications | |
| CPU type | Intel i7-13700HX/i5-13600HX/i5-13500HX, etc |
| CPU terrace | Intel Raptor Lake HX 13 generation CPU TDP: 55W |
| video card | Intel®UHD Graphics |
| Memory specifications | |
| Memory type | DDR5 4800MHz/5600MHz |
| Memory slots | 2×DDR5 UDIMM up to 96GB |
| Expand the slot | |
| WiFi slot |
1 × M.2 2230 slot (support WIFI/BT) WIFI: 802.11 b/g/n/AC /AX Bluetooth 4.0 or above |
| SSD slot |
1 × M.2 2280 slot (supports NVME PCIE4.0 x4) 1 × M.2 2280 slot (supports NVME PCIE3.0 x4) |
| PCIE card slot |
1 × M.2 2280 slot (supports NVME PCIE4.0 x4) 1 × M.2 2280 slot (supports NVME PCIE3.0 x5) |
| External interface | |
| Power port | ATX source |
| Display interface | 2×HDMI Out 2.01×DP1.4 |
| network interface |
1×RJ45 1000M 1×RJ45 2500M |
| USB joggle | 4×USB3.2 Gen12×USB2.0 |
| Audio interface | 1 ×Line Out 1 ×Line In 1×MIC in |
| Built-in plug-in specifications | |
| Power interface | ATX power interface 24+8PIN |
| COM mouth | 1 × RS232 (Dupont double row 9-pin 2.54mm) |
| Built-in audio interface | 1 ×F_Audio (Dupont dual-row 9-pin 2.54mm) |
| Plug-in socket | 4 x SATA3.0 ports |
| TPM contact pin | 1 x double row 11Pin 2. 0mm |
| USB3.0 Wafer | 1 double row USB3.0 pin 20PIN 2. 0mm |
| USB2.0 plug | 2 × dual-row USB2.0 connectors (DUPON dual-row 9-pin 2.54mm) |
| Beeper pin | 1 ×SPKER 4Pin 2.54mm |
| Board-mounted pins | 1 × CPU_FAN 4PIN 2× SYS_FAN 4PIN |
| Other parameters | |
| Size of motherboard | 225mm×190mm |
| BIOS support | AMI UEFI BIOS,PXE,WOL |
| work environment |
Temperature: 0~40℃ humidity: 5%~95% no condensation |
| Storage environment |
Temperature: -20~ 70℃ humidity: 5%~95% no condensation |
Tips for safe use
1. Before using this product, please be sure to read the product manual carefully;
2. For boards that are not ready to be installed, they should be stored in anti-static protective bags;
3. Before taking out the board from the anti-static protective bag, you should first place your hands on a grounded metal object for a while (for example, 10 seconds) to release the static electricity in your body and hands;
4. When holding the board, you need to wear anti-static protective gloves, and you should develop the habit of only touching its edges;
5. To avoid electric shock to the human body or damage to the product, you must turn off the AC power before plugging or reconfiguring the board; 6. Before moving the board or the whole machine, you must turn off the AC power; 7. For the whole machine product, when adding or reducing boards, be sure to turn off the AC power first;
8. Before you need to connect or unplug any device, you must turn off the AC power;
9. To avoid unnecessary damage to the product due to frequent power on and off, you should wait at least 30 seconds before turning it on again after shutting down.
(The diagram is for reference only, please refer to the actual product)
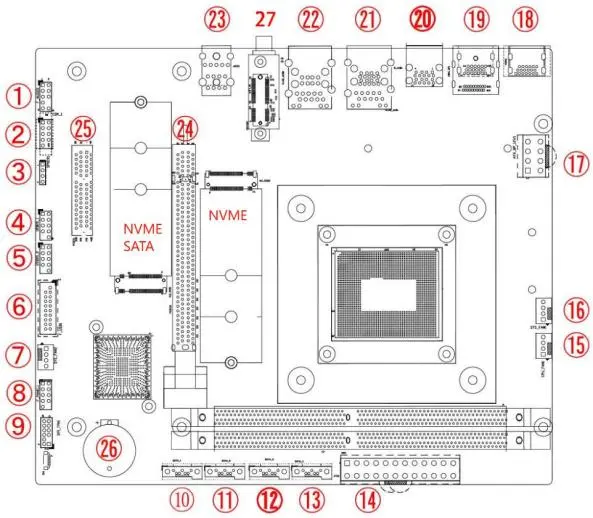
| number | description | number | description |
| 1 |
F_Audio : Built-in audio interface |
15 | CPU fan interface |
| 2 | COM : Built-in serial port | 16 | SYS fan interface |
| 3 | buzzer | 17 | ATX_ 8PIN 12V interface |
| 4 | USB2.0 pin 9PIN | 18 | HDMI2.0 port |
| 5 | USB2.0 pin 9PIN | 19 | DP+HDMI port |
| 6 | USB3.0 front panel inter-face | 20 | USB3.0 dual-layer interface |
| 7 | SYS fan interface | 21 | RJ45 (1G) +2 USB3.1 ports |
| 8 |
F_panel : built-in switch panel interface |
22 | RJ45 (2.5G) +2 USB2.0 ports |
| 9 | TPM pin 11PIN | 23 | Headset jack |
| 10 | Built-in SATA port | 24 | PCIEx16 port (optional) |
| 11 | Built-in SATA port | 25 | PCIEx4 interface (optional) |
| 12 | Built-in SATA port | 26 | RTC battery interface |
| 13 | Built-in SATA port | 27 | M.2 WIFI / BT support WIFI6 |
| 14 | ATX_ 24Pin power interface |
Safety Tips:
• Do not tear off the serial number and agent warranty sticker on the motherboard before installation, otherwise it will affect the recognition standard of the product warranty period.
• Before installing or removing the motherboard and other hardware devices, be sure to turn off the power and unplug the power cord from the socket. • When installing other hardware devices to the socket inside the motherboard, please make sure that the connector and the socket are tightly connected.
• When taking the motherboard, please try not to touch the metal wiring part to avoid short circuit.
• When taking the motherboard, central processing unit (CPU) or memory stick, it is best to wear an anti-static wristband. If there is no anti-static wristband, make sure your hands are dry, and touch metal objects first to eliminate static electricity.
• Before installing the motherboard, please place it on an anti-static mat or anti-static bag.
• When you want to unplug the plug from the motherboard power socket, make sure the power supply is turned off.
• Before turning on the power, make sure that the voltage value of the power supply is set to the voltage standard value in the window.
• Before turning on the power, make sure that the cables and power cords of all hardware devices are correctly connected.
• Do not allow the screws to contact the circuits or parts on the motherboard to avoid damage or malfunction of the motherboard.
• Make sure there are no screws or metal products left on the motherboard or in the computer case.
• Do not place the computer host in an unstable place.
• Do not place the computer host in an environment with excessively high temperatures.
• Turning on the power during installation may cause damage to the motherboard, other devices, or yourself.
• If you are not familiar with performing the installation, or if you encounter any technical problems using this product, please consult a professional technician.
Memory Installation
The motherboard provides 2 260 Pin DDR4 U-DIMM memory slots.
Before installing the memory, please pay attention to the following information: 1. Please make sure that the memory you purchased is suitable for the specifications supported by this motherboard.
2. Before installing or removing the memory, please make sure that the computer power is turned off to avoid damage.
3. The memory design has a foolproof mark. If you insert the memory in the wrong direction, the memory cannot be inserted. At this time, please change the insertion direction immediately.
4. Please turn off the power and unplug the AC power cord before installing or removing the memory.
5. Carefully hold both ends of the memory stick and do not touch the metal contacts on it.
6. Align the gold finger of the memory stick with the memory stick slot, and pay attention to the direction of the gold finger concave hole to the convex point of the slot;
7. Insert the memory stick vertically into the memory slot, and then press the memory stick down until you can hear a "click" sound, indicating that the memory has been successfully installed and can be used. (Note: Do not press down the memory stick too hard to avoid damaging the memory)
8. To remove the memory stick, push the latches at both ends of the DIMM slot outward at the same time, and then take out the memory stick.